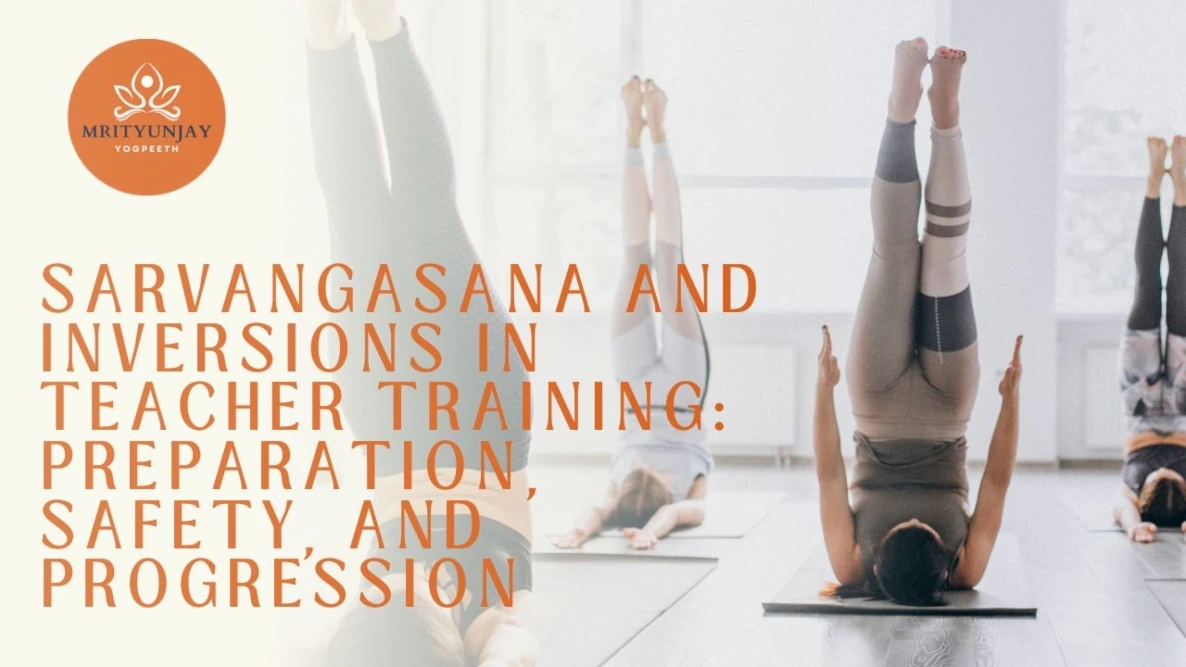
Sarvangasana, commonly called Shoulderstand, can teach valuable lessons about preparation, pressure, breathing, observation, and individual choice. It can also place substantial demands on the neck, shoulders, upper back, cardiovascular system, and sense of balance. That combination makes it a useful teacher-training subject, but not a posture that every trainee must perform.
The safest educational goal is not to make everybody look vertical. It is to help trainees understand what an inversion changes, recognise when load is poorly distributed, offer meaningful alternatives, and know when not to teach the pose. Progress should be based on readiness and response, not on course week, flexibility, seniority, or the belief that a “complete” yoga practitioner must master Shoulderstand.
This guide explains how to approach Sarvangasana and related inversions responsibly. It separates traditional teaching from modern evidence, describes a staged progression, identifies important precautions, and gives teacher trainers practical criteria for observation, assessment, and referral.
TLDR
- Sarvangasana is a weight-bearing inversion in which the shoulders and upper arms should carry much of the load while the cervical spine remains protected from excessive pressure and movement.
- Full Shoulderstand is not an essential achievement for every teacher trainee. A person can learn to teach inversions safely without demonstrating the final pose.
- Preparation should develop shoulder organisation, upper-back support, trunk control, breathing under manageable effort, and calm entry and exit skills.
- Begin with lower-risk relationships to gravity, such as Legs-Up-the-Wall Pose, supported bridge variations and partial lifts, before considering a full vertical shape.
- Blankets or other supports may improve the shoulder-to-head height relationship for some people, but props do not make the pose automatically safe.
- Neck pain, tingling, numbness, weakness, radiating symptoms, dizziness, visual disturbance, severe headache, chest pain or unusual breathlessness are reasons to stop, exit carefully and seek appropriate assessment.
- People with glaucoma or retinal concerns, recent eye surgery, uncontrolled blood pressure, significant cardiovascular or cerebrovascular disease, acute neck problems, severe osteoporosis, recent surgery or other relevant conditions need individual guidance before inverted weight-bearing practice.
- Pregnancy requires a separate, individual decision. Teacher training is not the right setting for a pregnant beginner to learn a new high-load inversion.
- Research on yoga programmes cannot be used to claim that Sarvangasana alone treats thyroid disease, anxiety, insomnia or other medical conditions.
- A good teacher-training assessment measures decision-making, communication, consent, spotting, modification and risk recognition, not only physical performance.
What Is Sarvangasana?
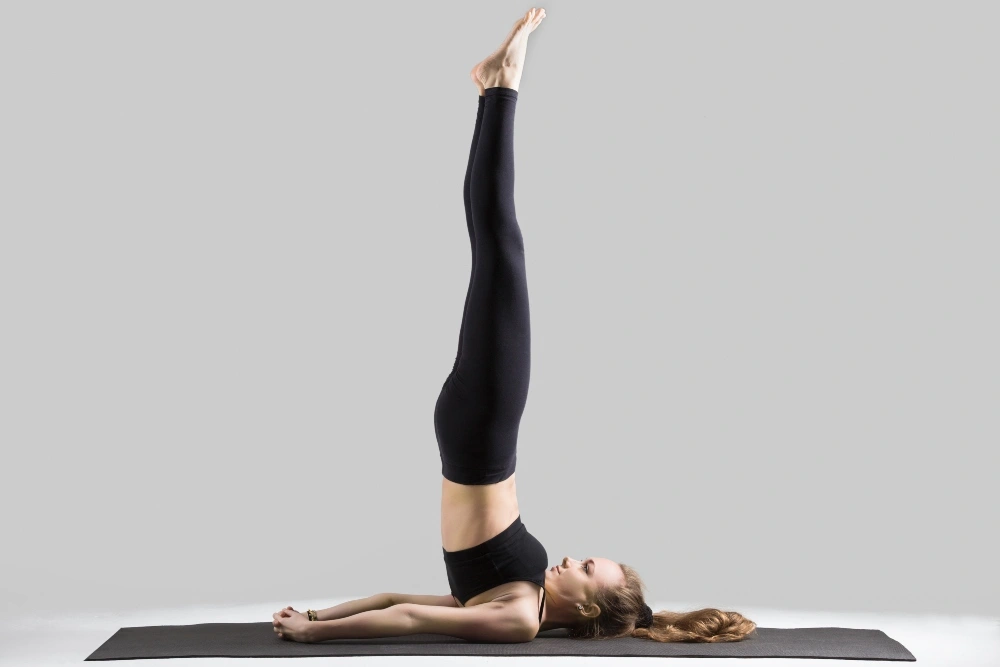
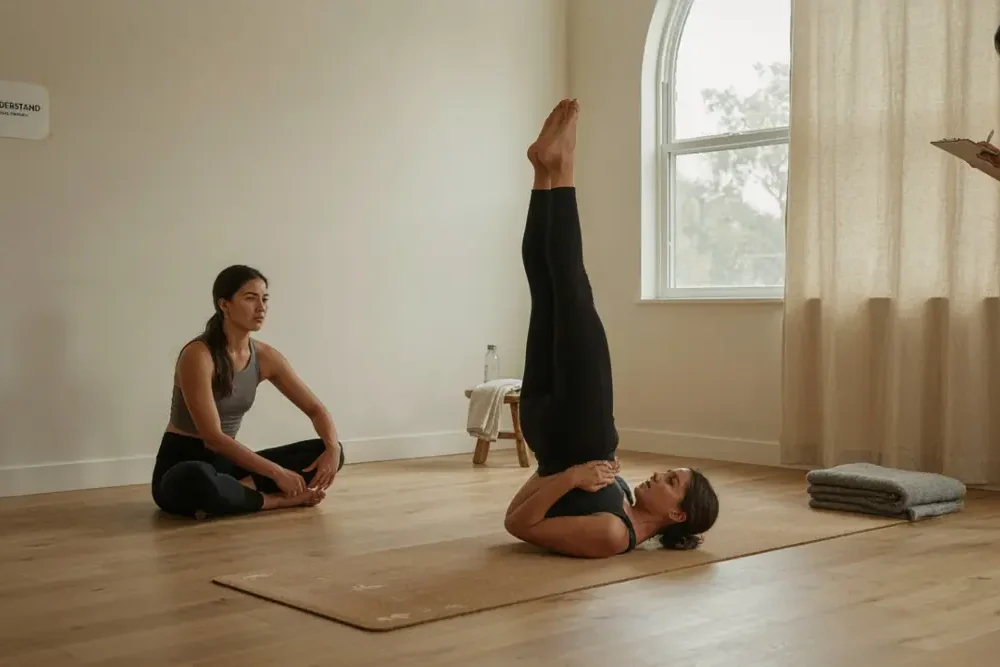
Sarvangasana is usually translated as “all-limbs pose,” although English-language classes commonly call it Shoulderstand. In the modern form, the practitioner lies down, lifts the pelvis and legs, supports the back with the hands, and attempts to organise the torso and legs above the shoulder base.
The name can hide an important mechanical fact: the pose is not supported by the shoulders alone. The upper arms, shoulder girdle, upper back, and contact with the floor or blankets all contribute. The head remains on the floor, but it should not become the primary base. The neck is in substantial flexion, which means careless loading, turning the head, or forcing the torso toward vertical can create avoidable risk.
Different lineages teach different versions. Some use several folded blankets under the shoulders, some use a wall, some teach a less vertical angle, and some omit the posture for particular students. Teacher trainees should understand the intention and trade-offs of a method rather than treating one visual form as universal.
Is Shoulderstand a Traditional Hatha Yoga Pose?
Sarvangasana is strongly associated with modern Hatha and postural-yoga teaching, but teachers should be precise about historical claims. Early Hatha texts do discuss inverted practices, including viparita karani, yet their methods, purposes, and terminology do not always match the contemporary Shoulderstand taught in studios.
It is therefore more accurate to say that Sarvangasana belongs to influential modern Hatha lineages than to claim that every detail of today’s pose appears unchanged in ancient manuals. Traditional descriptions may associate inversion with conserving vital essence, awakening energy, improving digestion, or reversing decline. These ideas are meaningful within their philosophical and historical systems, but they are not the same as modern clinical evidence.
A respectful teacher can present three layers clearly:
- Traditional teaching: what a lineage or text says the posture represents or supports.
- Movement experience: what a practitioner may notice, such as effort in the upper body, a changed relationship to gravity, or a settling effect after a supported variation.
- Scientific evidence: what research has actually tested, with attention to whether the study examined this posture alone or a complete yoga programme.
Keeping these layers separate protects both tradition and students from exaggerated health promises.
Why Is Sarvangasana Taught in Teacher Training?
Shoulderstand can expose teaching skills that are less visible in simple standing poses. A trainee has to manage fear, altered orientation, limited visual feedback, prop placement, entry and exit, individual anatomy, and the possibility that a student should choose a different pose.
It can help trainees learn to:
- classify inversions by load and complexity;
- observe whether the neck appears compressed or unstable;
- distinguish effort from warning symptoms;
- give short instructions when a student is upside down;
- teach an exit before teaching an entry;
- offer an alternative without presenting it as a lesser pose;
- ask permission before touching or spotting;
- keep students from turning their heads under load;
- respond calmly if balance or breathing deteriorates;
- recognise the limits of a group-class screening process.
These competencies matter even when a trainee never performs or teaches full Sarvangasana.
What Counts as an Inversion?
An inversion is broadly a position in which the head is below the heart or the lower body is elevated relative to the torso. That definition includes poses with very different risks.
Supported or Restorative
- Examples: Legs-Up-the-Wall Pose, calves on a chair
- Main consideration: Low external load, but comfort, breathing, and individual medical context still matter.
Partial Inversion
- Examples: Downward-Facing Dog, wide-legged forward fold, supported bridge
- Main consideration: The head may be positioned below the heart without placing full body weight on the neck or arms.
Shoulder-Supported
- Examples: Partial Shoulderstand, supported Sarvangasana
- Main consideration: Neck flexion, shoulder support, breathing, and a controlled exit require close attention.
Arm-Supported
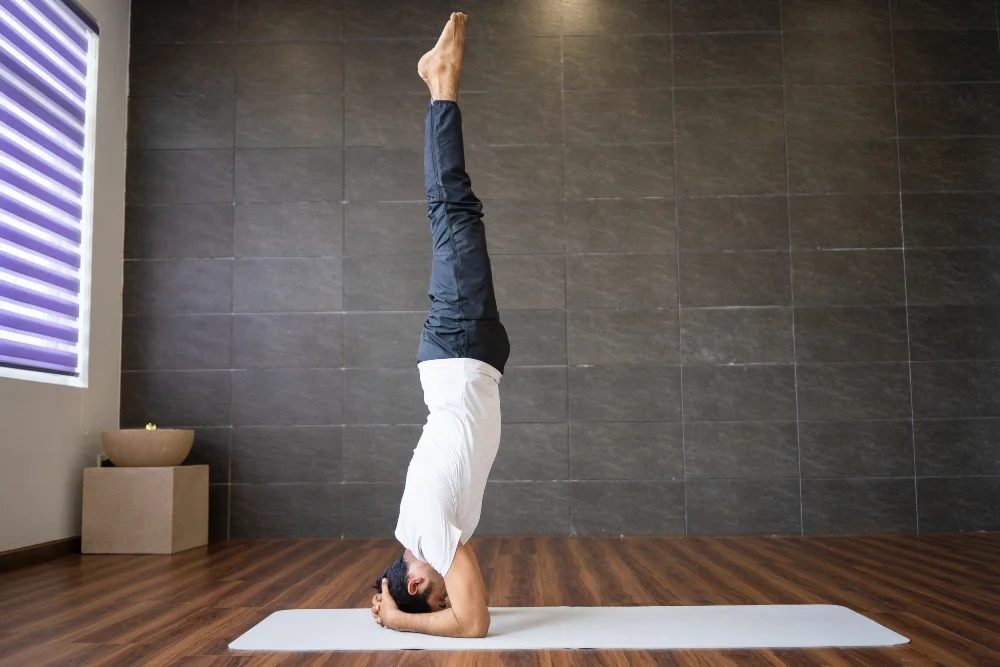
- Examples: Forearm balance, handstand
- Main consideration: Upper-body strength, balance, falling strategy, and wrist or shoulder tolerance become central.
Head-Supported
- Examples: Headstand variations
- Main consideration: Direct or indirect loading of the head and cervical spine requires a distinct progression and should not be treated as a substitute for Shoulderstand preparation.
The category matters more than the label “inversion.” A person who is comfortable in Legs-Up-the-Wall Pose is not automatically prepared for head-supported or shoulder-supported weight bearing.
What Makes Sarvangasana Technically Demanding?
The neck is flexed while the body is loaded
In the final shape, the chest moves toward the chin, and the cervical spine is flexed. The practitioner cannot see the base clearly and may not recognise that weight has shifted onto the back of the neck. If the shoulders do not provide adequate elevation or the torso is forced upright, the available movement may be taken from the neck.
The shoulder base must remain organised
The upper arms need to press down while the shoulders and upper back provide a broad base. If the elbows slide too wide, the hands lose useful support, and the body may collapse toward the head. Aggressively pulling the elbows together is not a universal solution because shoulder structure and mobility vary.
Breathing may become restricted
Deep neck flexion, chest compression, abdominal effort, and anxiety can make breathing feel constrained. A trainee who holds the breath, strains, or cannot follow a simple instruction is not ready to increase the challenge or duration.
Entry and exit carry their own risk
Many problems occur during hurried transitions rather than during a stable hold. Momentum can take the legs beyond control. Fatigue can turn the exit into a fall. Teachers should therefore treat entry, staying, and exit as three separate skills.
What Benefits Can Be Claimed Responsibly?
Yoga programmes that combine postures, breathing, relaxation and education have been studied for stress, sleep, pain, balance and general wellbeing. Those findings may support yoga as a broader practice, but they do not prove that one shoulderstand produces the same outcomes.
Reasonable, non-medical learning outcomes from a well-selected Sarvangasana progression may include:
- greater awareness of shoulder and upper-back support;
- improved ability to coordinate trunk and leg position;
- practice remaining calm in an unfamiliar orientation;
- better understanding of graded load and movement choices;
- confidence entering and leaving an inversion under control.
Claims that Shoulderstand “balances hormones,” “cures thyroid disease,” “detoxifies the body,” “drains the lymph,” “resets the nervous system,” or treats depression, insomnia, or digestive disease should not be presented as facts. A temporary feeling of calm after a pose is valid as personal experience, but it is not evidence of a medical mechanism or cure.
What Are the Main Safety Concerns?
Cervical pressure and excessive neck flexion
The most obvious concern is poorly distributed load around the cervical region. A visually straight pose is not worth forcing if the practitioner feels pressure, pain, pinching, or loss of control. Head turning under load adds rotation to an already flexed neck and should be avoided.
Changes in eye pressure
Research has shown that head-down yoga positions can temporarily raise intraocular pressure. The amount and relevance vary by position and individual, but this finding matters for people with glaucoma, ocular hypertension, retinal problems, or recent eye procedures. They should consult their eye-care professional rather than relying on a general yoga rule.
Blood-pressure and cardiovascular responses
Inversion changes the relationship between gravity, circulation, and effort. Breath-holding and straining may add to the demand. Anyone with uncontrolled hypertension, significant heart disease, a history of stroke or another relevant vascular condition needs individual medical guidance before high-load inversion practice.
Falling, dizziness and disorientation
Altered visual orientation can provoke fear or dizziness. A student may also lose balance onto nearby people, walls or objects. The practice space must allow a controlled exit, and the teacher must not create a false sense that a wall eliminates all risk.
Overconfidence created by props or assistance
Blankets, chairs, and walls are teaching tools, not safety guarantees. A prop can be badly positioned, move on a slippery surface, or make the exit more complicated. Hands-on help can also create dependency or place both teacher and student in an unstable load-sharing situation.
Who Should Avoid Sarvangasana or Seek Individual Clearance?
No checklist can replace an individual assessment. The following situations justify omitting full Shoulderstand or obtaining guidance from an appropriately qualified clinician who understands the person’s condition and proposed activity:
- current neck pain, recent whiplash, cervical disc symptoms or known cervical instability;
- tingling, numbness, weakness or pain radiating into an arm or hand;
- severe or unexplained headache, fainting, vertigo or neurological symptoms;
- glaucoma, ocular hypertension, retinal disease, recent eye surgery or another pressure-sensitive eye condition;
- uncontrolled high blood pressure, significant cardiovascular disease or cerebrovascular history;
- recent surgery or a healing fracture;
- severe osteoporosis or another condition that may increase fracture risk;
- an acute shoulder injury that prevents a stable, comfortable base;
- a condition that affects balance, spatial orientation or safe independent exit;
- pregnancy when the person is new to the pose, has complications, has been advised to avoid it or cannot exit reliably;
- any instruction from a treating healthcare professional to avoid inversions or loaded neck flexion.
A teacher should not diagnose these conditions. The teacher’s job is to hear the information provided, avoid exceeding scope, offer a safe alternative, and refer when needed.
Which Warning Signs Mean Stop Immediately?
Exit carefully if the practitioner experiences:
- sharp, burning or escalating neck, head, shoulder or back pain;
- tingling, numbness, weakness or an electric sensation;
- visual disturbance, eye pain or sudden severe pressure;
- severe headache, confusion, faintness or loss of coordination;
- chest pain, palpitations or unusual breathlessness;
- inability to breathe smoothly or respond clearly;
- panic that does not settle with an immediate exit;
- loss of a stable base or an uncontrolled shift toward the head.
Urgent symptoms require appropriate medical evaluation. “Breathe through it” is not a suitable response to neurological, cardiovascular, or visual warning signs.
What Should a Trainee Be Able to Do Before Full Shoulderstand?
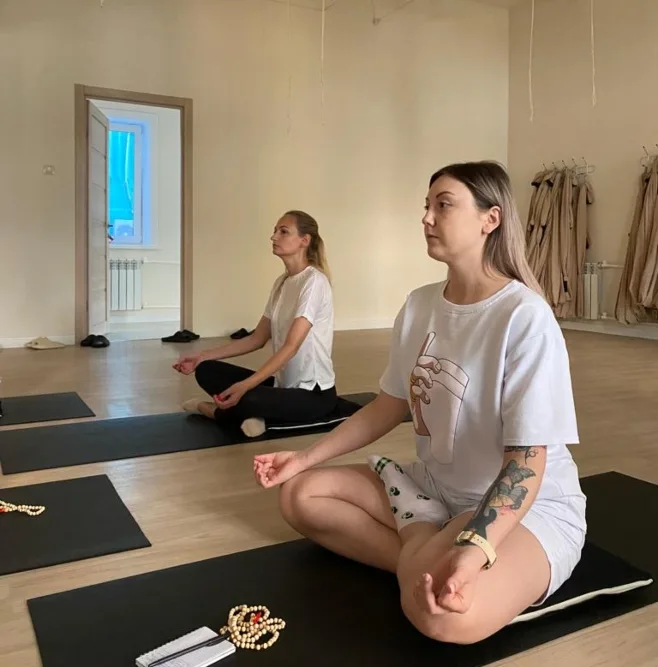
Readiness is not a single flexibility test. Useful prerequisites include the ability to:
- understand and follow the planned exit;
- lie supine and move the head and neck comfortably in daily ranges;
- maintain a broad upper-back and upper-arm base without sharp discomfort;
- perform a controlled bridge variation without collapsing through the neck;
- lift and lower the pelvis slowly rather than using uncontrolled momentum;
- keep breathing during moderate trunk effort;
- communicate symptoms honestly without pressure to succeed;
- accept a partial version or alternative as a complete practice choice.
These are observations, not guarantees. A person can meet them and still be unsuitable for full Sarvangasana because of health history, structure, symptoms, or preference.
How Should You Prepare the Body?
Preparation should create options rather than exhaust the muscles needed for support.
1. Establish neutral rest and breathing
Begin supine with the head supported if needed. Observe whether breathing is easy and whether the neck feels neutral. If symptoms are already present, do not use a demanding inversion to “fix” them.
2. Mobilise the upper back and shoulders gently
Use comfortable arm movements, supported chest opening, and small thoracic movements. Avoid forcing shoulder range simply to make the elbows look narrow.
3. Develop a controlled bridge
In Bridge Pose, practise pressing the upper arms down, lifting the pelvis without throwing the head back, and lowering one segment at a time. The head stays still.
4. Train trunk control
Simple supine leg movements, low-load abdominal work, and bridge variations can teach the practitioner to move the pelvis without swinging the legs.
5. Introduce a gentler inversion relationship
Legs-Up-the-Wall Pose or calves on a chair allows the trainee to notice breath, pressure, and emotional response without bearing body weight through the upper body.
6. Rehearse the exit
Before lifting high, practise lowering the hips with control and rolling out only when the neck is unloaded. A trainee who does not know how to leave should not enter.
How Should Blankets and Props Be Set Up?
Many teaching methods place two or more firm, evenly folded blankets under the shoulders while the head rests on the floor. The intention is to elevate the shoulders relative to the head and reduce the degree of neck flexion required. The folded edges should be aligned, stable, and wide enough to support both shoulders and upper arms.
Key setup checks include:
- the head is on the floor, not half on a blanket edge;
- both shoulders are supported at the same height;
- the surface is firm and non-slip;
- hair, jewellery or clothing will not interfere with the base;
- the wall, if used, is close enough for the planned variation but does not trap the practitioner;
- The teacher explained how to exit without turning my head.
Blanket height cannot be prescribed universally. Too little support may not change the neck angle meaningfully; too much or unstable support may impair balance. If the setup cannot be made clear and stable, choose another pose.
What Is a Safe Progression Toward Sarvangasana?
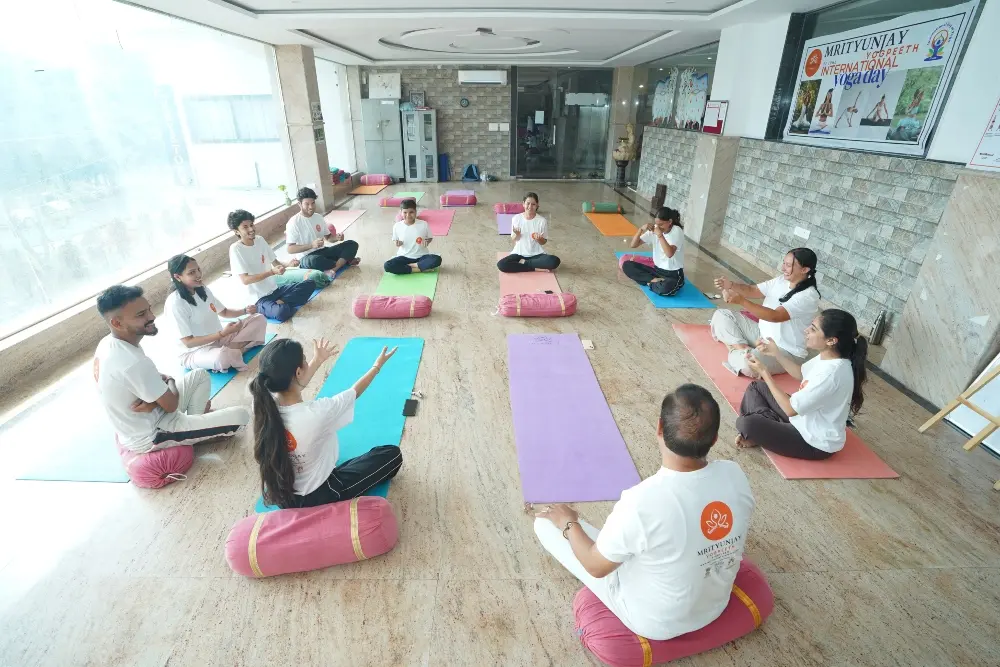
The following stages are teaching options, not a promise that everyone should advance through all of them.
Stage 1: Legs supported above the pelvis
Use Legs-Up-the-Wall Pose or place the calves on a chair. The practitioner learns how inversion-like orientation affects breathing, comfort, and emotional state. There is no reason to progress if this option already meets the purpose of the practice.
Stage 2: Supported Bridge Pose
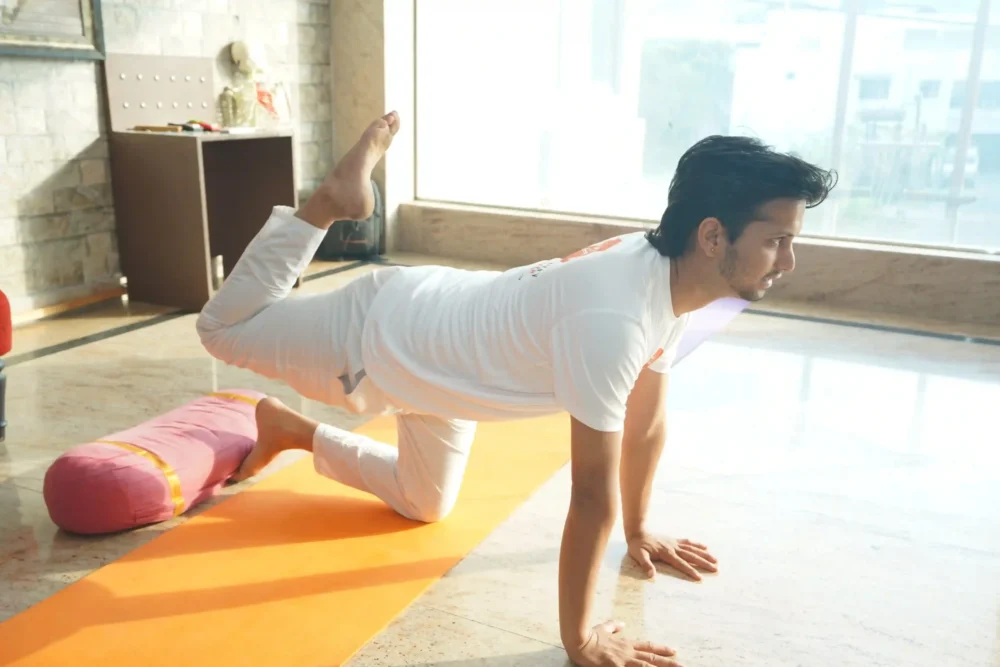
Lift the pelvis and place an appropriate yoga block under the sacrum, not the low back. The shoulders remain broad, and the head stays still. Feet may remain down, or one leg may lift only if the base and breathing stay steady.
Stage 3: Active Bridge Pose
Practise lifting and lowering without a block. The trainee learns upper-arm pressure, pelvic control, and fatigue recognition. This is preparation, not proof of readiness.
Stage 4: Partial pelvic lift with hand support
From supine, bring the knees toward the torso and lift the pelvis only as high as can be controlled. Hands support the back. Keep the knees bent and the torso diagonal. This reduces the lever length and allows an early exit.
Stage 5: Wall-assisted partial Shoulderstand
Use the wall to reduce balance demand while maintaining a diagonal torso or bent knees. Do not kick into position. The wall should support a planned action, not encourage the student to force the pelvis over the shoulders.
Stage 6: Supported Sarvangasana
Only when the base, symptoms, breath, and exit are satisfactory should the student consider extending the legs. Verticality is optional. A slightly diagonal, stable pose may be more appropriate than pushing the chest toward the chin.
Stage 7: Independent practice or a conscious alternative
Independence means the practitioner can set up, enter, monitor, and exit without rescue. It also includes the confidence to stop at an earlier stage. Choosing not to perform full Sarvangasana is a valid endpoint.
How Do You Enter and Exit Without Using Momentum?
A controlled entry
- Set the blankets and clear the surrounding area.
- Lie with the shoulders supported and the head centred on the floor.
- Explain that the head remains still from this point until the neck is fully unloaded.
- Bend the knees and bring the feet toward the sitting bones.
- Exhale and lift the pelvis gradually, using the hands to support the back.
- Keep the knees bent while organising the upper arms and shoulder base.
- Pause. Check breath, comfort, vision, and control.
- Extend the legs only if the previous position remains stable and symptom-free.
A controlled exit
- Bend the knees toward the torso to shorten the lever.
- Keep the head still and maintain hand support.
- Lower the spine slowly, allowing the hands to move as the torso descends.
- Place the pelvis down without dropping or swinging the legs.
- Rest with the head neutral until breathing settles.
- Only after the neck is unloaded should the practitioner roll to a side or move the head.
If control is deteriorating, exit earlier rather than trying to repair the final pose while fatigued.
Which Alignment Cues Are Most Useful?
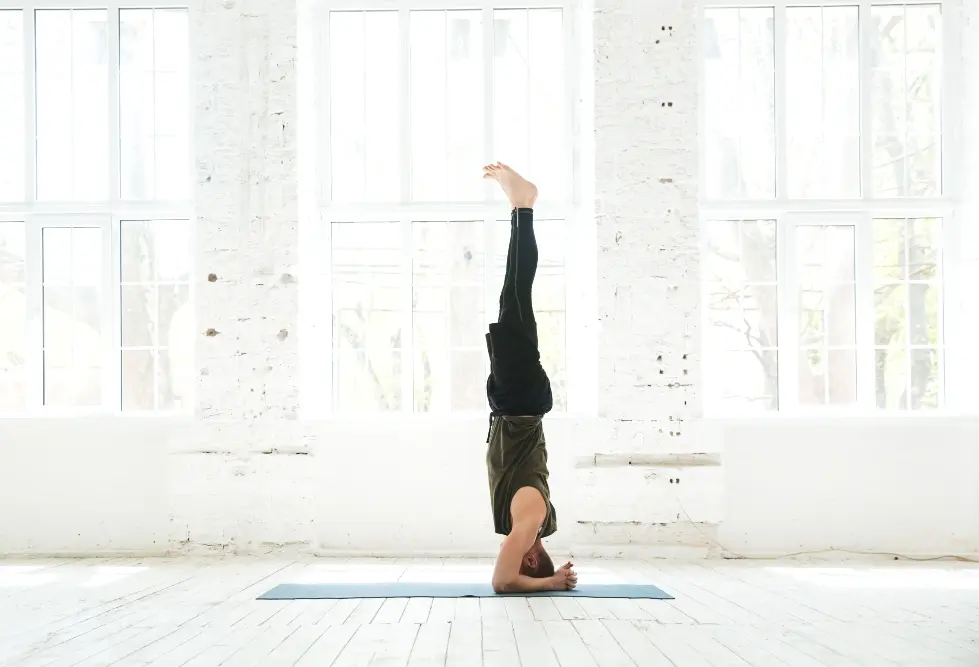
Effective cues describe actions and sensations without demanding one appearance from every body.
- “Keep the back of your head quiet and centred.”
- “Press the upper arms into the support and widen across the upper back.”
- “Let your hands support the back without pushing the torso beyond a comfortable angle.”
- “Keep the jaw, eyes and throat as easy as the position allows.”
- “Use a steady breath. If you need to hold it, lower the intensity.”
- “Bend your knees before you lose control.”
- “Come down immediately if you feel neck pressure, tingling, dizziness, or visual change.”
Avoid cues such as “put all the weight on your shoulders,” “squeeze the elbows together at any cost,” or “stay for ten breaths no matter what.” They replace observation with a rigid target.
How Long Should You Hold Your Shoulderstand?
There is no universal minimum. A first exposure may be one calm breath in a partial position followed by a controlled exit. Duration should increase only when setup, breathing, symptoms and exit remain reliable.
A practical progression is to add a small amount of time across separate sessions, not within a single fatigued attempt. End the hold before arm support weakens, elbows slide, breathing becomes strained, or the trainee feels pressure building in the neck or head.
Long traditional holds should not be copied merely because an experienced practitioner uses them. Experience, health, technique, environment, and purpose all affect an appropriate duration.
What Are the Most Common Teaching Mistakes?
Treating vertical legs as the goal
- Why it matters: Encourages force and can hide poor load distribution.
- Better response: Prioritise breath, a stable base, and a controlled exit.
Letting students turn their heads
- Why it matters: Adds rotation while the neck is loaded and flexed.
- Better response: Establish a clear no-head-turning rule before entry.
Using momentum to lift
- Why it matters: Reduces control and can cause the body to overshoot the base.
- Better response: Begin with bent knees and use a smaller, controlled lift.
Moving elbows inward aggressively
- Why it matters: May force a range of shoulder motion that is not currently available.
- Better response: Seek a stable and comfortable arm position without forcing the elbows.
Holding everyone for the same count
- Why it matters: Ignores fatigue and individual responses.
- Better response: Allow each student to exit when technique, breathing, or control begins to deteriorate.
Assuming props make the pose safe
- Why it matters: Props can slip, be positioned incorrectly, or be misused.
- Better response: Teach the setup, purpose, limitations, and exit strategy for every prop.
Physically lifting a student into place
- Why it matters: Removes student agency and may transfer unpredictable loads.
- Better response: Use consent-based guidance and lower-risk progressions.
Teaching entry before exit
- Why it matters: Students may not know how to safely return from the position.
- Better response: Rehearse and understand the exit before practising the full entry.
Making medical promises
- Why it matters: Can misrepresent available evidence and exceed appropriate teaching scope.
- Better response: Clearly distinguish traditional yoga claims from evidence-based information.
Praising risk-taking
- Why it matters: Can discourage students from reporting discomfort or symptoms.
- Better response: Reinforce good decision-making, including choosing a modification or alternative when appropriate.
How Should Hands-On Assistance Be Used?
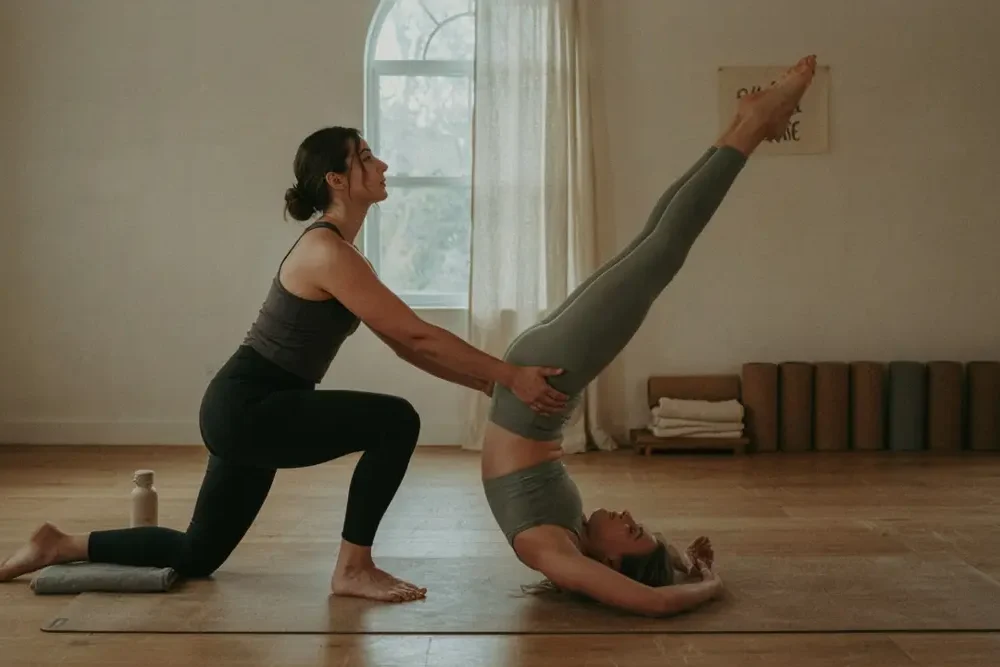
Touch is optional, not a requirement of good teaching. Obtain specific consent before the pose, because a student cannot easily evaluate or refuse an unexpected adjustment while inverted. Explain where contact may occur, what it is intended to do, and how the student can ask you to stop.
A teacher should not pull a student into vertical alignment, force the elbows inward or press weight toward the neck. If the practitioner cannot maintain the pose without substantial physical support, the progression is too advanced for independent practice.
Spotting skills require training. The teacher needs a stable stance, a clear escape path, and an understanding that catching an adult body can injure both people. Sometimes the safest assistance is a calm verbal cue to bend the knees and come down.
How Should Inversions Be Sequenced in a Class?
Place Shoulderstand after the body and attention are prepared but before fatigue compromises support. Avoid introducing it at the end of an exhausting strength sequence or in a rushed final few minutes.
A sensible educational sequence might include:
- neutral rest and symptom check;
- gentle shoulder and thoracic preparation;
- bridge variations and trunk-control work;
- a lower-risk inversion option;
- the individually selected Shoulderstand stage;
- a slow, controlled exit;
- neutral supine rest;
- comfortable follow-up movement after the neck is unloaded.
Traditional sequences may pair Sarvangasana with Matsyasana, or Fish Pose, as a counterpose. A forceful counterpose is not medically required. Do not move directly from maximal neck flexion into an aggressive neck extension. Let the head and neck return to neutral, observe symptoms and choose a comfortable follow-up.
How Should Sarvangasana Be Taught in a 200-Hour Programme?
A foundational teacher training should emphasise safe literacy rather than performance mastery. Learning outcomes may include:
- defining different inversion categories;
- explaining the main demands of Shoulderstand in plain language;
- conducting an appropriate, non-diagnostic readiness conversation;
- setting up a supported option clearly;
- teaching at least two alternatives;
- recognising red flags and ending practice promptly;
- giving consent-based guidance;
- avoiding unsupported medical claims;
- documenting incidents and referring beyond scope.
A course can teach these skills even if full Sarvangasana is not appropriate for some trainees. Requiring every student to demonstrate the final pose may discriminate against people with relevant conditions and confuses teaching competence with one physical capacity.
What Changes in Advanced Teacher Training?
At an advanced level, trainees can explore more complex observation and decision-making. This may include adapting blanket height, comparing lineage methods, teaching mixed-level rooms, planning a progressive module, managing fear, understanding likely compensation patterns, and practising emergency communication.
Advanced hours should deepen judgment, not simply lengthen holds or add more difficult inversions. A 300-hour or 500-hour credential does not make a teacher a clinician. Medical diagnosis, rehabilitation, and treatment remain outside the ordinary scope of yoga teaching unless the person holds separate, relevant professional qualifications.
How Should Trainees Be Assessed?
A fair assessment should use several domains.
Knowledge
- Explains inversion categories, primary risks, evidence limitations, and appropriate referral boundaries.
Preparation
- Selects appropriate warm-up exercises without unnecessarily fatiguing the muscles and structures needed for support.
Communication
- Provides brief, clear, and timely instructions and teaches the exit before the full pose.
Observation
- Identifies signs such as strained breathing, slipping elbows, neck pressure, and loss of control.
Choice
- Offers appropriate alternatives of comparable purpose and does not pressure students to progress.
Consent
- Requests specific permission before using touch, physical guidance, or spotting.
Response
- Ends the pose appropriately when necessary and follows an established incident procedure when required.
Reflection
- Can clearly explain why a particular variation, modification, or alternative was selected for an individual student.
Physical demonstration may be included when suitable, but it should not outweigh risk recognition and teaching judgment.
How Can You Make Inversion Teaching More Inclusive?
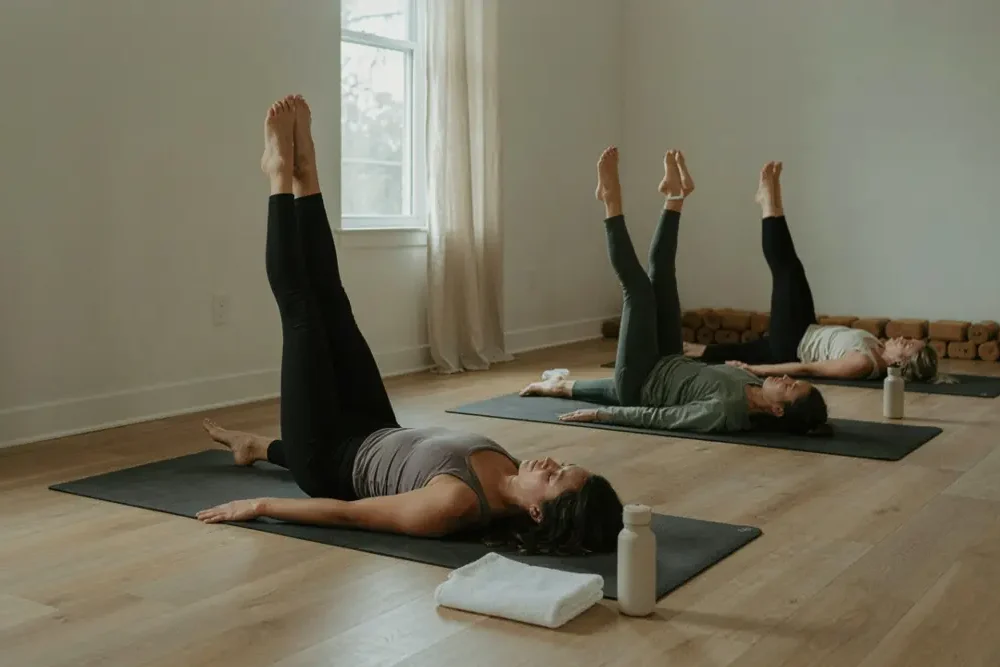
Inclusive teaching begins by removing the assumption that full inversion is the superior experience. A student may decline because of medical history, menstruation, pregnancy, trauma, religious or cultural concerns, body proportions, vertigo, fear or simple preference. They do not owe the class an explanation.
Offer choices before anyone moves onto props. Useful alternatives include:
- calves supported on a chair;
- Legs-Up-the-Wall Pose;
- supported bridge with feet grounded;
- a gentle downward-facing shape with the head supported;
- constructive rest with slow breathing;
- observation and verbal analysis for a trainee who is learning to teach but not practise the pose.
Describe the learning purpose shared by the options, such as calm breathing under a changed relationship to gravity, rather than calling one the “full pose” and the others “beginner versions.”
What About Pregnancy?
Yoga in pregnancy is not governed by one rule for every person or trimester. Experience before pregnancy, current symptoms, obstetric history, balance, blood pressure, and the advice of the maternity-care team all matter.
A pregnant person who has never practised Sarvangasana should not use a general teacher-training session to learn it. Even an experienced practitioner may need to change or stop the pose as balance, comfort and physiology change. Complications, dizziness, bleeding, pain, contractions, fluid leakage, chest symptoms or medical restrictions require prompt professional guidance.
Teacher trainers should provide a non-inverted option automatically and should not treat previous ability as permission for the current day.
What About Menstruation?
Some yoga lineages advise avoiding inversions during menstruation; others leave the choice to the practitioner. There is not a strong clinical basis for presenting a universal inversion ban as medical fact.
The respectful approach is to explain the lineage’s teaching accurately, distinguish it from evidence-based medical advice, and preserve individual choice. Symptoms such as heavy bleeding, pain, dizziness, migraine, or fatigue may make a restorative option more appropriate, but menstruation alone should not be treated as a disease or a reason for public questioning.
How Do Other Inversions Fit Into the Progression?
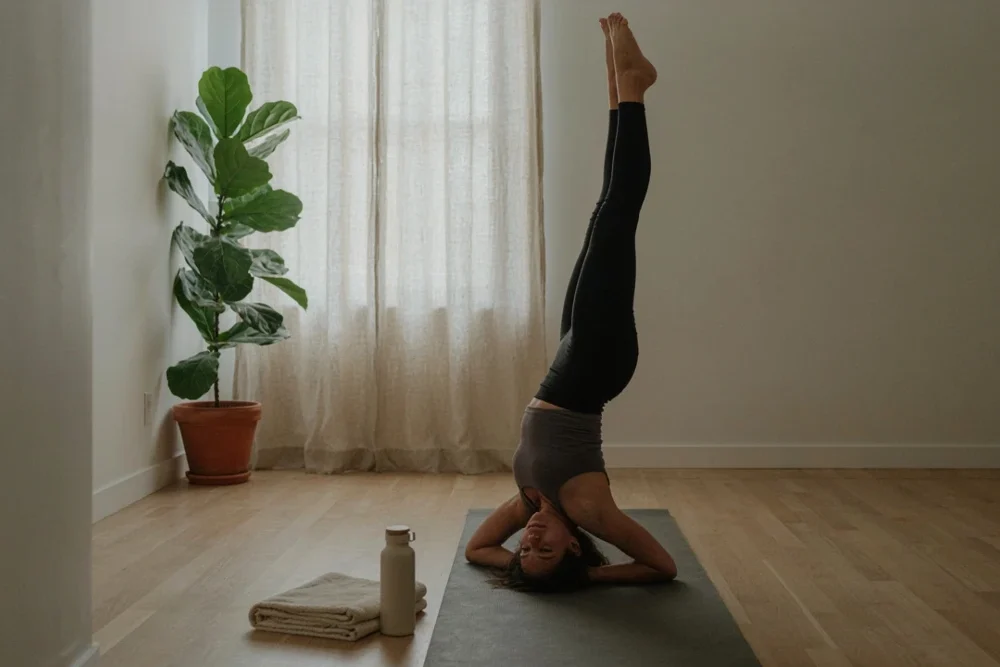
Headstand, forearm balance, and handstand are not automatic “next steps” after Shoulderstand. Each has a different base, loading pattern, balance demand, and falling strategy.
- Headstand requires specific cervical-load management and should not be assumed safe because the student can hold Shoulderstand.
- Forearm balance shifts more demand to the shoulders, upper back and balance system.
- Handstand places high demand on wrists, shoulders, trunk control, and fall management, usually with less direct neck loading when taught well.
- Plough Pose increases spinal and hip-flexion demands and may deepen neck loading after Shoulderstand; it is not a mandatory exit.
Teacher training should create a separate readiness pathway for each posture rather than arranging them in a prestige ladder.
A Six-Week Competency-Based Progression
This example assumes an appropriate student who remains symptom-free. Repeat, slow down, or stop at any stage.
Week 1: Orientation and screening
Learn inversion categories, relevant precautions, warning signs and the no-head-turning rule. Practice Legs-Up-the-Wall Pose and controlled bridge.
Week 2: Base and exit skills
Develop upper-arm pressure, broad upper-back support and slow lowering. Rehearse the exit from a small pelvic lift.
Week 3: Partial hand-supported lift
Use bent knees and a diagonal torso. Hold briefly, check breathing, and exit before fatigue.
Week 4: Supported or wall-assisted variation
Refine prop setup and reduce reliance on momentum. Practise giving and receiving concise verbal cues.
Week 5: Individual progression
Some trainees may extend their legs or move farther from the wall. Others repeat a partial form or select an alternative. Both paths are valid.
Week 6: Teaching integration
Teach a short progression to a partner, including screening language, two options, exit instructions, consent, and a post-pose check. Assessment focuses on judgment, not verticality.
Practical Teacher-Training Scenarios
A trainee feels pressure at the back of the neck
Ask them to bend the knees and exit with the head still. Do not add blankets and immediately repeat the full pose without reassessment. Review the base, method, symptoms, and whether an alternative is more appropriate. Persistent or significant symptoms warrant professional evaluation.
A student becomes dizzy after coming down
Keep them resting in a comfortable position, monitor communication, and follow the course’s incident procedure. Do not ask them to repeat the inversion. Severe, persistent, or associated symptoms require appropriate medical help.
An experienced trainee discloses glaucoma
Do not decide that experience cancels the condition. Recommend an alternative and ask the trainee to obtain individual advice from their eye-care professional about head-down positions and allowable intensity.
A trainee can teach clearly but cannot perform full Sarvangasana
Assess teaching competence separately from physical performance. They can demonstrate preparation with another person, use a model, teach alternatives and explain decision-making. Document any essential course outcomes transparently.
A student asks whether Shoulderstand will cure thyroid disease
State that there is no good evidence that this posture cures thyroid disease. Encourage medical care and present yoga, if appropriate, as a complementary wellbeing practice rather than a replacement for diagnosis or treatment.
Frequently Asked Questions
Is Sarvangasana compulsory in yoga teacher training?
No universal standard requires every trainee to perform full Sarvangasana. A school may include it in its curriculum, but a responsible assessment should accommodate relevant health conditions and measure teaching judgment, alternatives, and safety skills.
Is Shoulderstand safe for beginners?
Full Shoulderstand is not an appropriate first inversion for every beginner. Beginners generally benefit from lower-load options, preparation and close observation. Suitability depends on health, comfort, control, and the teaching environment.
Should I use blankets under my shoulders?
Many methods use firm folded blankets to elevate the shoulders relative to the head. They may reduce the neck-flexion demand for some people, but setup must be taught correctly and does not guarantee safety.
Can I learn Sarvangasana against a wall?
A wall can reduce balance demand and support partial variations. It can also encourage pushing or create a difficult exit if used carelessly. Learn the setup and exit from a qualified teacher rather than kicking into position.
Why should I not turn my head in Shoulderstand?
The neck is already flexed and loaded. Turning adds rotation under load. Set the space and listen to instructions before lifting, so you don’t need to look around.
How long should a beginner hold Shoulderstand?
There is no required duration. A brief, controlled partial lift may be enough. Exit before breath strain, neck pressure, slipping support or fatigue appears.
Is Sarvangasana good for the thyroid?
Traditional and popular yoga sources often make this claim, but research does not establish that Shoulderstand treats or cures thyroid disease. People with thyroid conditions should continue appropriate medical care.
Can people with high blood pressure practise inversions?
It depends on the individual, how well the condition is controlled, and the type of inversion. Someone with uncontrolled hypertension or relevant cardiovascular history should obtain medical guidance before high-load inversion practice.
Can people with glaucoma practise Shoulderstand?
Head-down positions can temporarily raise intraocular pressure. A person with glaucoma, ocular hypertension, retinal concerns or recent eye surgery should ask their eye-care professional which positions, if any, are appropriate.
Can I practise Sarvangasana during pregnancy?
Pregnancy requires an individual decision. It is not a suitable time for a beginner to learn a new high-load inversion in a general class. Experienced practitioners should still consult their maternity-care team and adapt as circumstances change.
Is it medically necessary to avoid inversions during menstruation?
There is no strong evidence for a universal medical ban. Some traditions advise avoidance, and individual symptoms or preference may support choosing another pose. Teachers should explain tradition without presenting it as settled medical fact.
Is Headstand the next pose after Shoulderstand?
Not necessarily. The headstand has a different loading pattern and requires its own preparation and safety assessment. Yoga postures should not be treated as a fixed prestige ladder.
Can a yoga teacher diagnose whether my neck is safe?
No. A yoga teacher can observe movement, ask about symptoms and choose not to teach a pose, but medical diagnosis belongs to appropriately qualified healthcare professionals.
What is the safest alternative to full Shoulderstand?
There is no single best option for everyone. Legs-Up-the-Wall Pose, calves on a chair or supported bridge often provide a gentler relationship to inversion. The choice should match the person’s health, comfort and purpose.
Conclusion
Sarvangasana can be a rich teacher-training laboratory, but only when the educational goal is good judgment rather than a perfect silhouette. The pose asks teachers to understand load, altered orientation, breath, individual anatomy, consent, and the difference between productive effort and a warning sign.
The most responsible progression begins with screening and lower-risk options, develops a stable shoulder and upper-arm base, teaches the exit before the entry, and advances only when the practitioner remains comfortable, communicative and in control. Props, walls and hands-on help are useful only when their purpose and limitations are understood.
Most importantly, teacher training should normalise the decision not to perform full Shoulderstand. A competent teacher can explain the pose, demonstrate preparation, offer inclusive alternatives, recognise risk, and refer beyond scope without making their own body the standard for everyone else.
Your Next Step
Before teaching Sarvangasana, write a one-page inversion protocol for your course or class. Include:
- the learning purpose;
- relevant screening questions;
- the warning signs that require an immediate exit;
- at least two non-weight-bearing alternatives;
- the exact setup and exit instructions;
- your touch and spotting consent process;
- the incident-response and referral pathway;
- the criteria for progression that do not depend on appearance.
Then practise teaching the exit and alternatives before teaching the full pose. If the plan works only when every student has the same body, history and confidence, it is not yet a safe teaching plan.