TL;DR
Vrikshasana (Tree Pose) is a beginner-friendly standing balance posture that builds stability, concentration, and postural awareness through correct alignment and steady breathing. Proper foot placement, a fixed drishti, and gradual progression from wall support to freestanding balance help beginners practice safely while avoiding strain on the knees, hips, and lower back.
Supported vs Unsupported Vrikshasana Practice
| Factor | Wall or Chair-Supported Practice | Freestanding Practice |
| Suitable For | Complete beginners, seniors, those with balance concerns | Practitioners with basic balance confidence |
| Difficulty Level | Lower; reduces fall risk while learning alignment | Moderate; requires core engagement and steady drishti |
| Focus Area | Foot placement, knee alignment, breath awareness | Full-body balance, concentration, and postural control |
| Benefits | Builds confidence, reduces strain, safer entry point | Strengthens ankle, foot, and core stability further |
| Limitations | Less challenge to balance and focus | May cause wobbling or improper alignment if rushed |
| Best Use Case | Early learning stage or physical limitations | Progressing toward advanced standing balance postures |
Introduction
Beginners often assume Tree Pose is simply standing on one leg. In reality, experienced yoga teachers know that Vrikshasana is one of the first postures to reveal that balance begins with attention rather than strength. At Mrityunjay Yogpeeth, students learn this posture gradually through breath, alignment, and awareness before progressing to advanced standing asanas.
This guide explains the correct alignment principles, common mistakes, and safe progressions for beginners. It is written for practitioners who are new to balance postures and want a clear, structured approach to learning Tree Pose correctly.
What Is Vrikshasana?
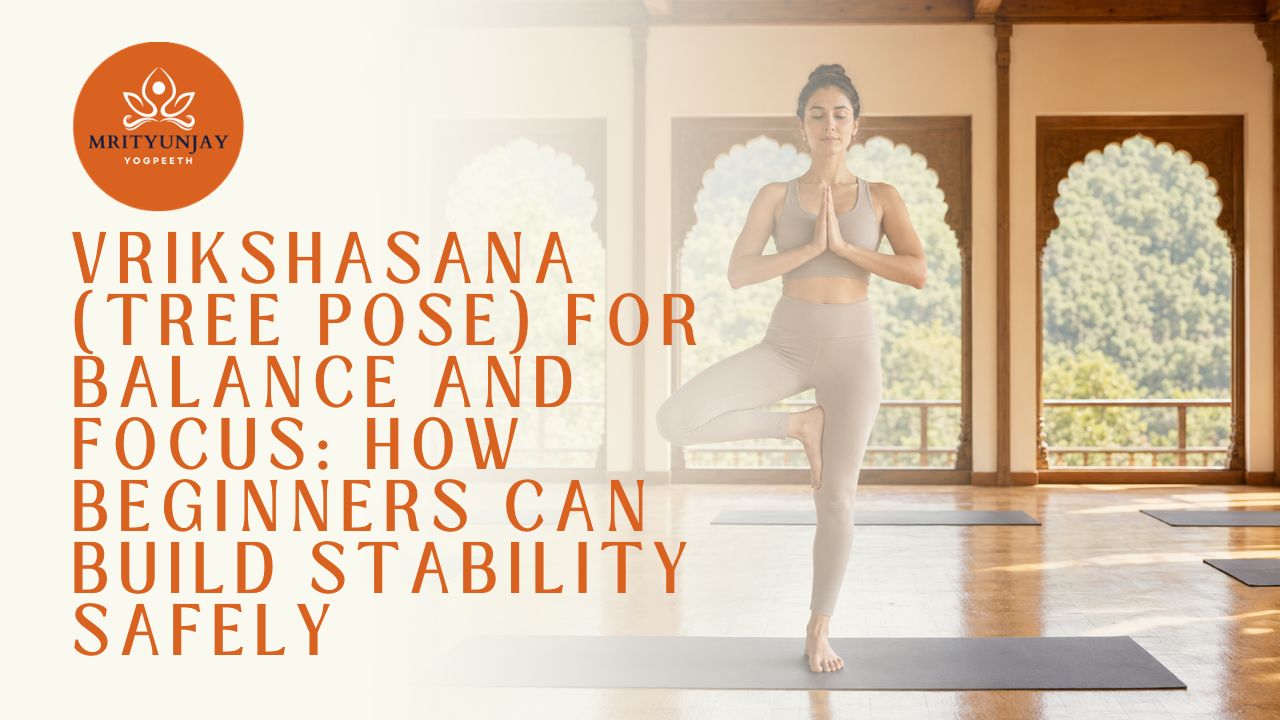
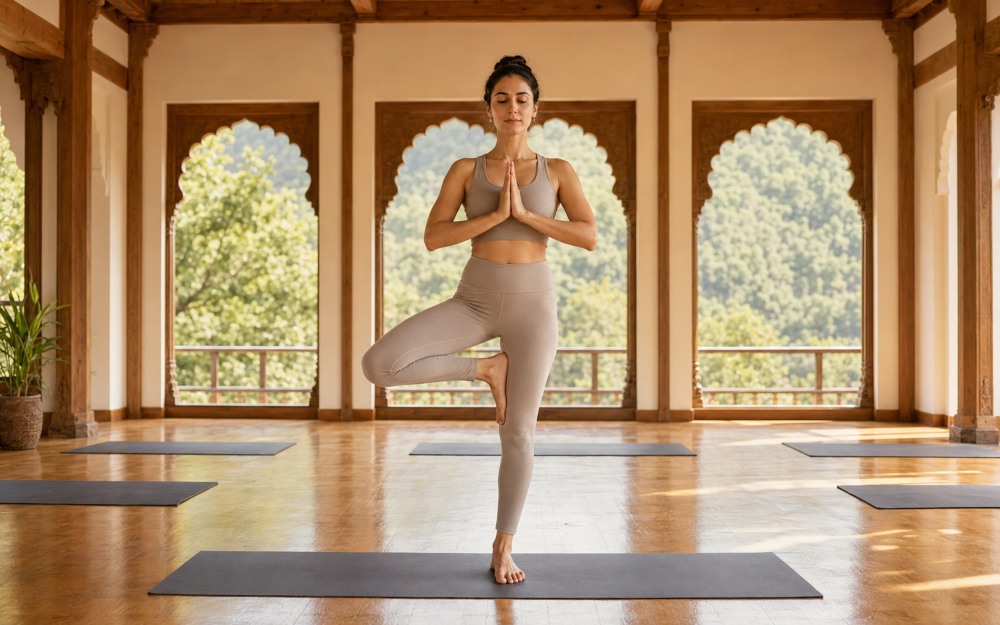
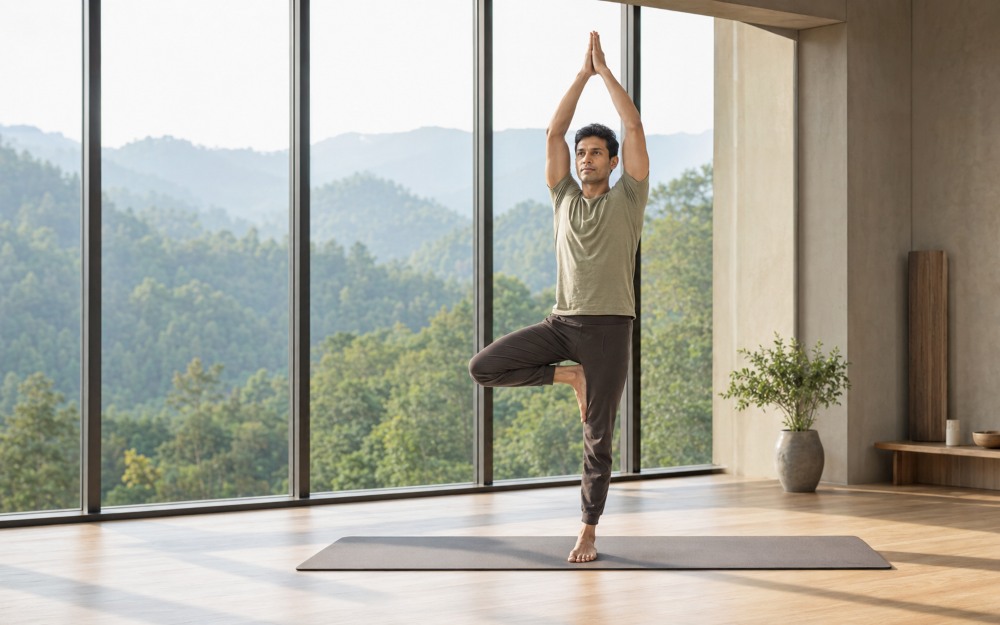
Vrikshasana (Tree Pose) is a single-leg standing balance posture practiced in Hatha Yoga to cultivate steadiness, grounding, and mental focus before moving into more demanding standing balances.
Sanskrit: Vriksha = tree, Asana = posture.
Vrikshasana is one of the very few standing postures found in medieval Hatha Yoga texts – most standing poses taught today are 20th-century additions. It appears in the 17th-century Gheranda Samhita (2.36), which describes placing one foot on the opposite thigh and standing grounded “like a tree.” Classical Hatha Yoga used postures like this to cultivate sthira (steadiness) and sukha (ease) – the two qualities Patanjali names in the Yoga Sutras as essential to any asana. The tree symbolism is literal: rooted and firm, yet flexible enough to sway without falling.
Key characteristics:
- Single-leg standing balance requiring core engagement and steady breath
- Foot placed on the inner calf or inner thigh – never on the knee joint
- Steady gaze (drishti) and even breath are what actually hold the balance
- Often taught early in beginner and 200 Hour Yoga Teacher Training sequences, since it reveals foundational gaps in a student’s alignment and focus
- Builds ankle, knee, and hip stability that later feeds into poses like Half Moon and Warrior III
Benefits: strengthens the standing leg, opens the bent-knee hip, improves balance and proprioception, and sharpens concentration.
Note: not a substitute for medical care – modify or avoid with recent hip, knee, or ankle injury.
Who Should Avoid or Modify Vrikshasana?
Although Vrikshasana is a beginner-friendly posture, it may need to be modified for individuals with recent ankle, knee, or hip injuries; chronic knee instability; severe balance disorders such as vertigo; or those recovering from lower-limb surgery. If you have a medical condition that affects balance or joint stability, consult a qualified Yoga instructor or healthcare professional before practicing.
If your balance is not great, practice using a wall or a heavy chair to lightly support yourself for safety while mastering the pose. Gradually decreasing dependency on support as balance and alignment improve prevents falls or injury for beginners while increasing stability.
Medical Disclaimer
Yoga may support overall well-being but should not replace professional medical advice, diagnosis, or treatment. Individuals with medical conditions should consult a qualified healthcare professional before beginning a Yoga practice.
Vrikshasana Benefits: What Is Actually Supported
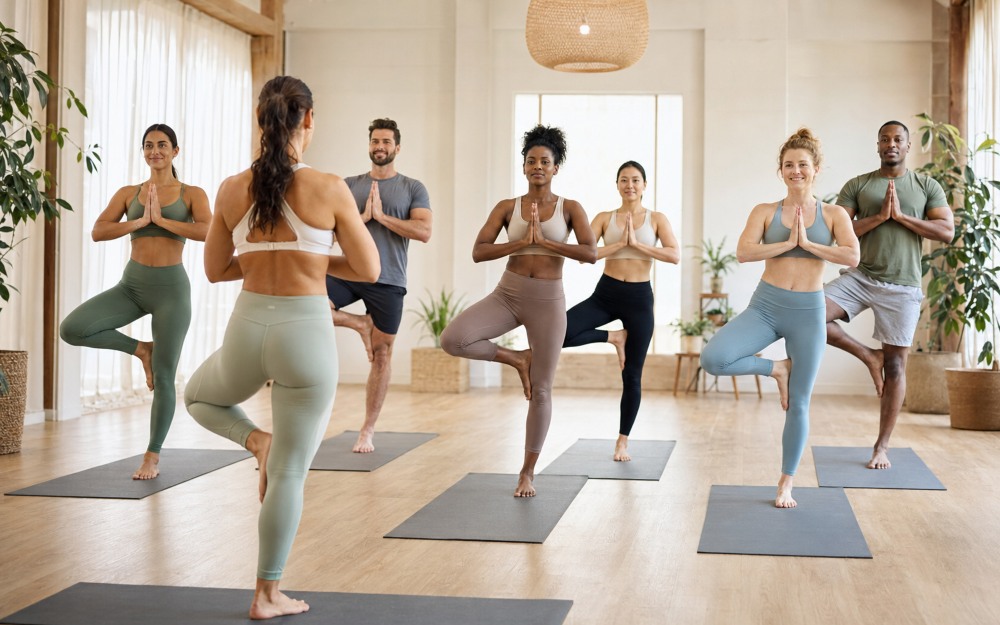
Yoga postures are often associated with physical and mental benefits, but claims should be stated carefully and only where evidence supports them.
- Balance and coordination: Standing balance postures are commonly included in yoga-based programs, which are studied for their potential to support balance and postural stability (National Center for Complementary and Integrative Health, NCCIH).
- Focus and concentration: Maintaining a single-point gaze, known as drishti, is a traditional technique used to steady attention during balance postures.
- Leg and ankle strength: Regular practice can help strengthen the muscles of the standing foot, ankle, calf, and hip that contribute to balance and stability during everyday movements.
- Postural awareness: Practicing alignment in Vrikshasana can support awareness of hip and shoulder positioning that carries into daily posture.
When balancing in Tree Pose, the standing ankle is making hundreds of micro-adjustments – barely perceptible changes. This improves the condition of the stabilising musculature around the ankle and hip far more effectively than just standing still.
Tree Pose Variations and Modifications (By Level)
Vrikshasana adapts easily to different balance levels, making it one of the most beginner-to-advanced-friendly standing poses in yoga. Once the basic alignment feels steady, these variations let you progress – or scale back – without losing the core benefits of the pose.
- Wall or chair-supported: Stand near a wall or hold a chair back for light hand support. Best for complete beginners and seniors building initial confidence and reducing fall risk while learning foot placement.
- Half Tree Pose: Rest the foot on the calf instead of the inner thigh. Best for beginners who want more stability while still practicing correct knee and hip alignment.
- Arms-overhead / Anjali Mudra: Progress from palms pressed together at the chest to arms extended overhead. Best for practitioners with a steady freestanding base who want to add postural and shoulder engagement.
- Partner Tree Pose: Two practitioners stand side by side, lightly supporting each other’s raised arm or shoulder. Best for group classes and building shared-balance awareness.
- Eyes-closed variation: Close the eyes only once freestanding balance is confident. Best for advanced practitioners looking to challenge proprioception and inner-ear balance.
Choosing the right variation for your current level helps build genuine stability rather than forcing a pose the body isn’t ready for – the safest way to progress in Vrikshasana over time.
Which Muscles Does Tree Pose Strengthen?
Vrikshasana works the body through sustained, active stillness rather than movement, which makes its strengthening effect easy to underestimate. Holding the pose engages far more muscle groups than its calm appearance suggests.
Standing leg: The ankle stabilizers and calf muscles make constant small adjustments to keep you upright, while the quadriceps and glutes support the hip and knee joints through the full hold. This continuous micro-engagement is what builds strength, even though the leg appears still.
Core and postural muscles: The abdominal and oblique muscles are recruited to stabilize the pelvis and avoid hip drop on the side with the lifted leg. As the arms reach overhead, so too do the postural muscles of the spine and shoulders kick in to help reinforce the upright alignment that is at the core of this pose. It is this blending of core and postural engagement that provides the full-body stabilizing effect of Tree Pose, rather than mere leg work.
Why this matters for posture and everyday balance: These same stabilizing muscles are the ones relied on for everyday movements – stepping over uneven ground, standing on one leg to put on shoes, or recovering from a stumble. Regular practice reinforces the muscular coordination behind those everyday moments of balance, making Tree Pose as functional as it is meditative.
In short, Vrikshasana is not merely a balance pose – it is stealthy, abstruse total-body conditioning. Since all parts of the body – ankles, legs, core, and spine – are engaged to maintain this shape, regular practice can significantly enhance stability on and off the mat.
How Should You Breathe During Vrikshasana?
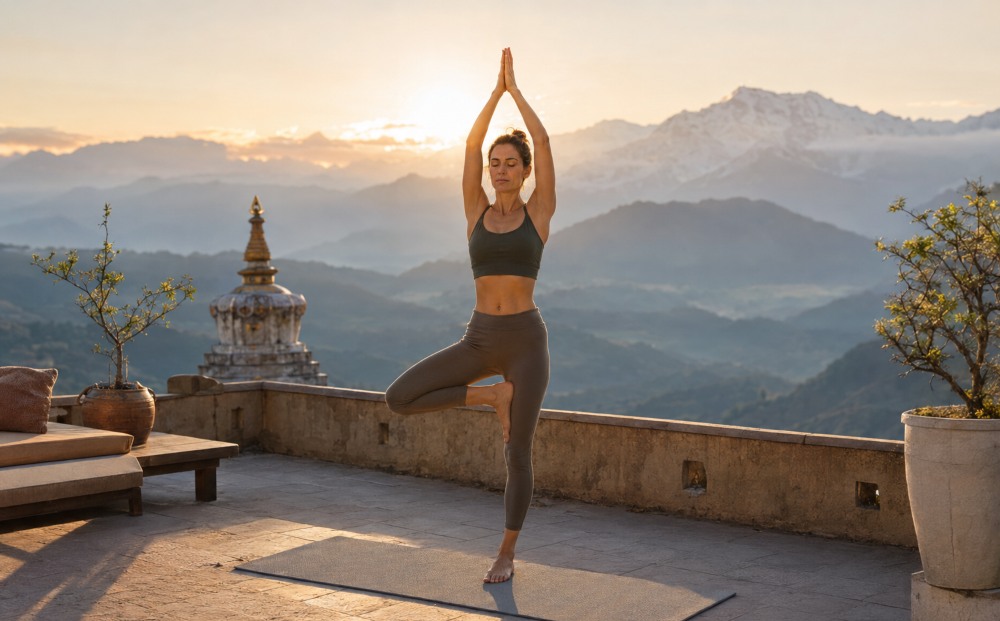
Breathing plays a quiet but important role in maintaining balance during Vrikshasana. Instead of forcing deep breaths, allow your inhale and exhale to flow naturally through the nose. A steady rhythm helps the body stay relaxed and makes it easier to hold the posture with control.
As you settle into the pose, let the breath expand gently into the abdomen rather than lifting the shoulders. This diaphragmatic breathing reduces unnecessary tension and encourages better stability by keeping the body grounded and the core gently engaged.
With many beginners, the first thing they do is hold their breath when wobbling. Even though this seems like the natural thing to do, it can create a stiffening effect that makes balancing harder. If you feel that you are beginning to get shaky, then come back to a gentle equal breath before making any changes.
Remember that Vrikshasana is not about standing perfectly still. Small movements are a normal part of balancing. When calm breathing is combined with a steady drishti (fixed gaze), the body can make subtle corrections naturally, allowing the pose to feel more stable, focused, and effortless over time.
Step-by-Step Alignment
Correct alignment reduces strain on the standing knee and lower back. Follow these steps in sequence.
- Stand tall in Tadasana (Mountain Pose) with feet hip-width apart.
- Shift your weight onto the right foot, keeping the standing leg active but not locked.
- Bend the left knee and place the sole of the left foot against the right inner ankle, calf, or inner thigh. Avoid placing the foot directly on the knee joint.
- Press the lifted foot and standing leg gently into each other while keeping the pelvis level and the spine elongated. Avoid leaning the hips to one side, as balanced weight distribution creates greater stability.
- Bring the palms together at the chest in Anjali Mudra, or extend the arms overhead if balance feels steady.
- Fix your gaze on a still point ahead (drishti) to support concentration.
- Breathe steadily for 5 to 8 breaths, then release and repeat on the other side.
Why Does Drishti Improve Balance?
Drishti means fixing your gaze on a single, unmoving point. While it is a traditional yogic technique for improving concentration, modern movement science also explains why it enhances balance.
- Supports the vestibular system: The vestibular system in the inner ear helps the body detect movement and maintain equilibrium. A steady gaze reduces unnecessary head movement, allowing this system to work more efficiently.
- Improves visual fixation: Focusing on one fixed object gives the brain consistent visual information, reducing distractions and making it easier to maintain a stable posture.
- Calms the nervous system: A steady gaze combined with slow, controlled breathing helps reduce unnecessary muscular tension and encourages better coordination between the brain and body during balance postures.
- Develops yogic concentration: Traditionally, drishti is used to cultivate ekagrata (one-pointed concentration). In Vrikshasana, this focused awareness steadies both the body and the mind, transforming the posture into a meditative practice rather than just a physical balance exercise.
Instead of looking around the room, choose a fixed point at eye level about 1–2 metres ahead and keep your gaze there throughout the pose. Even experienced practitioners use drishti to improve stability and mental focus.
Common Mistakes Beginners Make
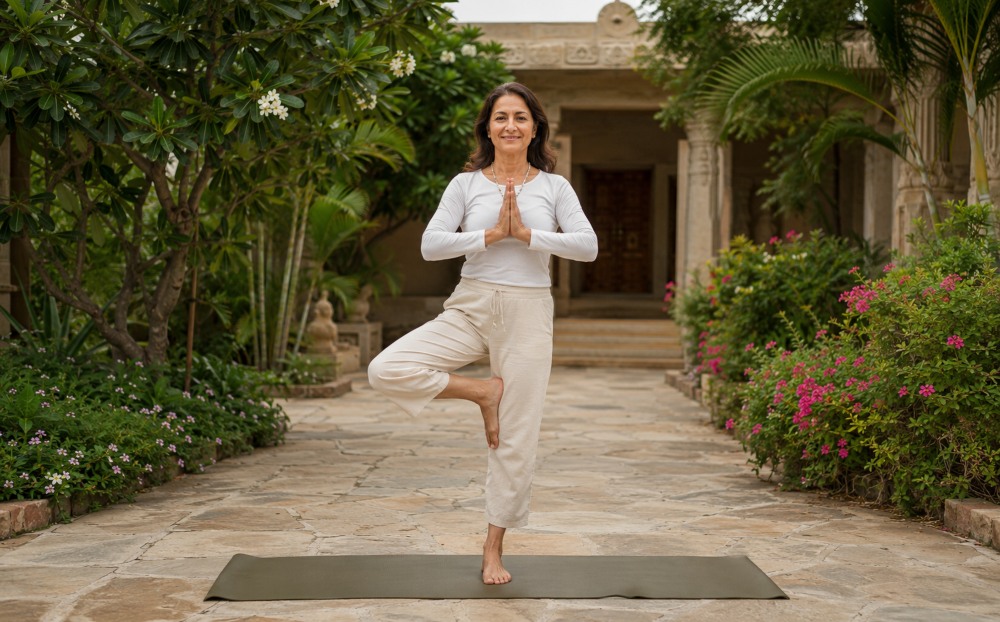
Most balance issues in Vrikshasana come down to a handful of avoidable habits. Recognizing these early makes the pose safer and far easier to hold.
- Placing the foot on the knee joint — this can strain the knee ligaments; the foot should rest above or below the joint, never directly on it.
- Locking the standing knee — this reduces the small micro-adjustments needed for balance and can strain the joint over time; keep the leg active but softly bent.
- Holding the breath — beginners often tense up and stop breathing, which increases instability; steady, even breathing keeps the nervous system calm and the body balanced.
- Rushing into arm variations — raising both arms overhead before the base is stable often causes wobbling and loss of alignment; master the grounded stance first.
- Looking around the room — shifting gaze breaks concentration and balance; fixing the eyes on a single still point (drishti) helps significantly.
Beginner Modifications by Practitioner Type
| Practitioner Type | Recommended Modification | Reason | How to Apply It |
| Complete beginners | Practice near a wall for support | Builds confidence before freestanding balance and reduces fall risk while learning correct foot placement | Stand with the back or side facing a wall; use light fingertip contact only if needed, and focus on keeping the standing knee soft, not locked |
| Office workers | Place foot at calf level, not thigh (Half Tree Pose) | Easier to maintain after long sitting hours, when hips and ankles are stiffer and less mobile | Take a short standing break, rest the foot against the calf rather than the inner thigh, and use the pause to gently mobilize the hips before sitting back down |
| Seniors | Use a chair for light hand support | Reduces fall risk while building stability, especially important for those managing balance or joint concerns | Hold the back of a sturdy chair with one hand, keep the lifted foot low (ankle or calf), and prioritize steady breathing over height of the foot placement |
| Students | Practice barefoot on a non-slip mat | Improves foot grip and proprioception, and the required drishti (fixed gaze) doubles as a pre-study focus exercise | Practice on a mat rather than a slippery floor, fix the gaze on a single still point, and hold for 5–8 breaths as a short concentration reset between study sessions |
| Yoga teachers-in-training | Practice both sides with drishti focus | Builds the alignment and cueing skills needed to safely teach standing balance postures to future students | Practice observing foot placement, knee alignment, and pelvis level on both sides, while also rehearsing how to verbally cue these points for a student |
Practical Examples
These examples show how beginners, students, office workers, and yoga teachers can bring Vrikshasana into their everyday routines, not just onto the mat.
Office workers: After hours of sitting, the hips, ankles, and lower back often feel stiff and disconnected. Stepping away from the desk for even one minute to practice Vrikshasana against a wall can help reintroduce active balance, gently mobilize the hips, and reset posture before returning to work. It’s a small, practical break that counters the effects of prolonged sitting without requiring a full workout session.
Students preparing for exams: Review also comes with a lot of restlessness and your brain going from one idea to another. A constant drishti in Vrikshasana develops the single-point concentration required for long hours of book study and provides a useful two-to-three minute break between periods of revision. It can help tame pre-exam jitters before settling in to study when paired with a few rounds of slow, gentle breath.
Yoga teachers-in-training: For anyone working toward certification, Vrikshasana is more than a pose to master personally – it’s one of the first postures they’ll need to teach safely to others. Understanding the biomechanics involved, including correct foot placement, knee alignment, and common compensation patterns, is directly relevant to leading standing balance postures with confidence. This is exactly the kind of alignment-first teaching approach covered in foundational yoga teacher training curricula.
Seniors and rehabilitation contexts: Vrikshasana is also often introduced in gentler forms – using a chair or wall for support – to help older adults or those recovering from minor injuries rebuild confidence in single-leg balance, which is closely tied to fall prevention in daily life.
How Vrikshasana Fits into Traditional Yoga Practice
In traditional Yoga practice, Vrikshasana is more than a balance exercise. According to classical Yogic teachings, steady posture and calm awareness are essential qualities of every asana. Patanjali describes an ideal posture as one that combines steadiness (sthira) and ease (sukha) in Yoga Sutra 2.46.
Tree Pose is commonly introduced early in Hatha Yoga and Yoga Teacher Training programmes because it helps practitioners develop:
- Physical stability before progressing to advanced balancing postures
- Breath awareness while maintaining alignment
- Concentration through the use of a fixed drishti (gaze point)
- Mind-body coordination that supports both practice and teaching
Learning these foundational principles prepares students for more complex standing postures while reinforcing safe alignment habits.
How Tree Pose Is Taught in a 200 Hour Yoga Teacher Training
Postures like Vrikshasana are taught within the Asana Practice & Alignment module of our 200 Hour Yoga Teacher Training in Rishikesh – a 22-day, Yoga Alliance USA-certified residential course (RYT 200) covering Hatha and Ashtanga Vinyasa styles, open to complete beginners through intermediate practitioners. Tree Pose is typically introduced early in the training, alongside other foundational standing postures, as part of building a base for more advanced balancing work later in the course.
Because this is a teacher training and not a general yoga class, the focus goes beyond simply performing the pose correctly. Trainees learn how to verbally cue alignment for future students – pelvis level, spine elongated, standing leg active but not locked, foot placed on the inner ankle, calf, or inner thigh and never the knee joint. Batches are kept to roughly 12 – 18 students, with 3 – 4 experienced teachers per group, which allows for individual feedback on balance, drishti, and foot placement that’s difficult to give in a larger class setting.
Alignment work in this module is paired with dedicated Human Anatomy & Yogic Physiology classes, so trainees understand the underlying joint mechanics and muscle engagement behind the pose, not just its shape. Asana practice takes place both in the morning (Hatha and Vinyasa-based) and afternoon (Ashtanga-based) sessions, with anatomy and teaching methodology classes scheduled around them, so alignment principles learned in practice are reinforced the same day through theory and teaching practice. By the end of the course, graduates are equipped to teach postures like Vrikshasana safely and confidently, backed by Yoga Alliance USA (RYT 200) certification recognized internationally.
What trainees specifically learn in this module:
- Correct and incorrect foot placement, and the joint-safety reasoning behind each
- How to give verbal alignment cues to future students, not just perform the pose themselves
- Hands-on correction from experienced teachers in small batches of 12–18 students
- The anatomical and physiological basis for the pose’s alignment principles
- How the pose fits into a broader daily sequence of Hatha, Vinyasa, and Ashtanga practice
- Practicing both as a student and as a future instructor, including giving and receiving teaching feedback
Frequently Asked Questions
1. Is Vrikshasana suitable for complete beginners?
Yes. Vrikshasana is considered a foundational balance posture and is commonly taught early in beginner classes, provided the foot is placed correctly and support such as a wall is used when needed.
2. What’s the difference between Tree Pose and Half Tree Pose?
Half Tree Pose places the lifted foot on the calf instead of the inner thigh, offering more stability while still training the same balance and alignment skills — a good stepping stone before the full pose.
3. Can Tree Pose help with posture from sitting all day?
Yes. The pose engages the core, hips, and spine in an upright alignment, which can help counteract the rounded, seated posture common after long hours at a desk.
4. How long should a beginner hold Vrikshasana?
Beginners should aim for 5 to 8 steady breaths per side, prioritizing correct alignment over duration.
5. Is Tree Pose taught in 200-hour yoga teacher training courses?
Yes. It’s typically introduced early as a foundational standing balance posture and is part of the Asana Practice & Alignment module in Mrityunjay Yogpeeth’s 200-Hour YTT in Rishikesh.
Conclusion
Mastering Vrikshasana begins with patience, steady breathing, and consistent attention to alignment rather than holding the pose for longer periods. As balance improves, practitioners develop greater body awareness, concentration, and confidence that support both everyday movement and progression into more advanced standing postures. These foundational principles are also explored in depth during structured Yoga Teacher Training programmes, where alignment, anatomy, and teaching methodology are studied systematically.
Understanding postures like Vrikshasana in depth is also part of building the technical and teaching foundation covered in structured Yoga Teacher Training programs.
Learning Tree Pose correctly is only the beginning of a deeper yoga journey. At Mrityunjay Yogpeeth, Vrikshasana is taught through detailed alignment, anatomy, breathing, and teaching methodology as part of our internationally recognized Yoga Teacher Training Courses. If you’re ready to move beyond simply performing poses and understand the principles behind them, explore our upcoming Yoga Alliance-certified programmes in Rishikesh.